|
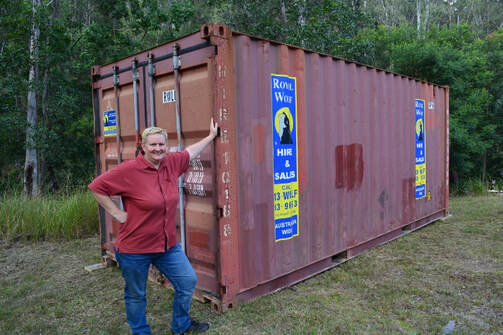
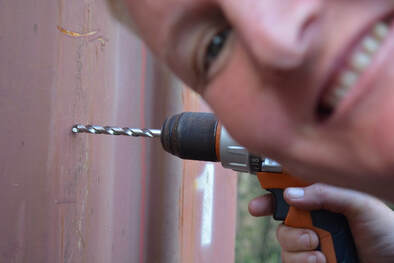
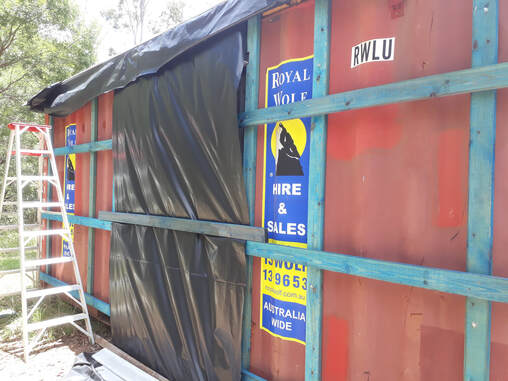
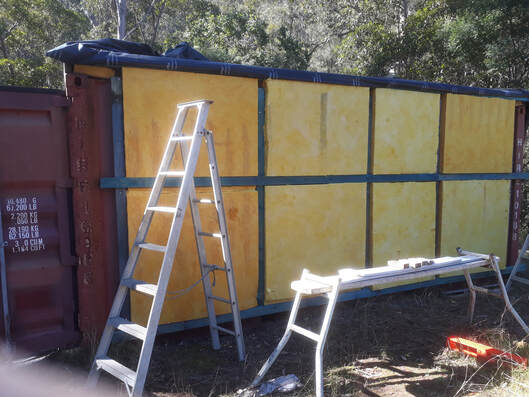
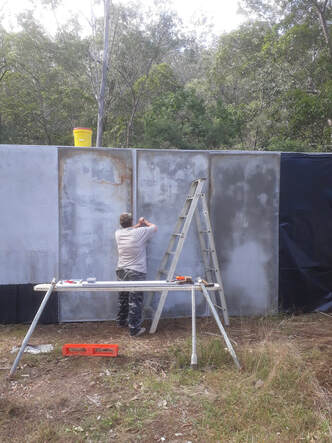
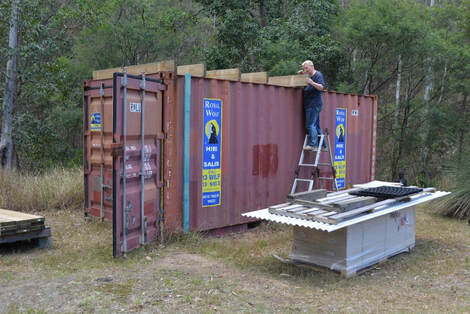
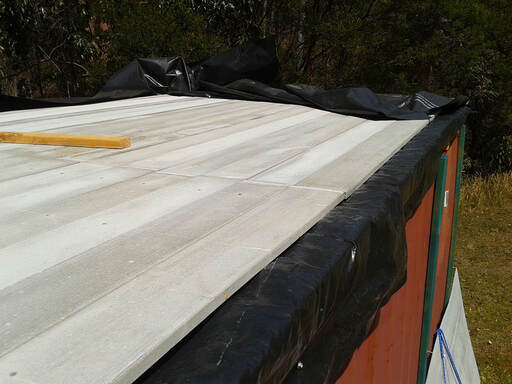
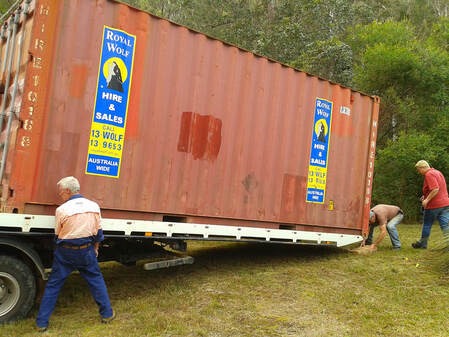
(Extracts from my PhD Thesis) This series of posts provides a step-by-step description of the construction and conversion processes involved in building the Container of Dreams. They outline my studio investigations and experimentation and document both accomplishments and failures experienced throughout the project. Part Five: Eastern Exterior Wall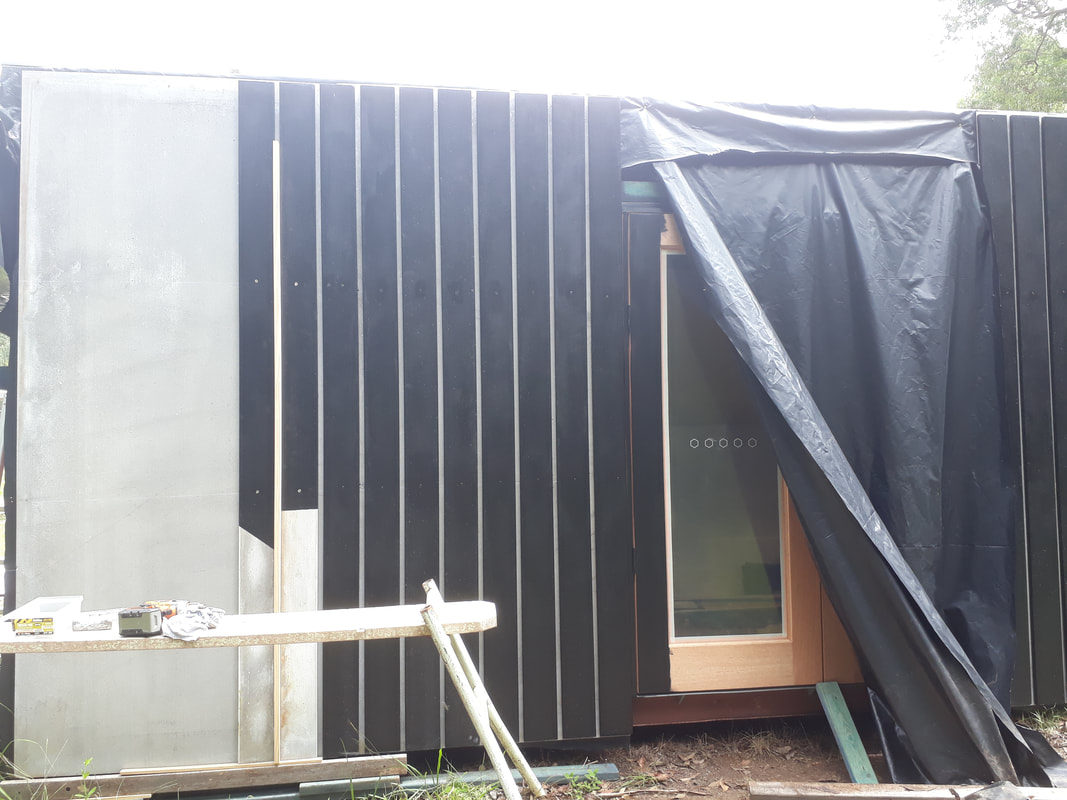 Installing the painted house motif boards onto the container exterior Cladding The eastern wall has been finished with the Inex decking boards, supplied by UBIQ and The Green Building Centre in Byron Bay. The decking boards have been painted in black Dulux Weathershield paint, kindly donated by Dulux Paints, prior to installation and fastened in a vertical arrangement. These boards were relatively uncomplicated to attach and fixed in the same technique as the boards installed on the roof, using masonry self-drilling screws. A small interval of 11mm was left between each board. This was achieved by placing a length of timber for use as a spacer to separate each panel from the previous board and the next one to be fixed. This guaranteed that the spacing between each vertical board was consistent allowing for continuity in the overall pattern. The completed vertical composition, including the optical interruption of the upright surface, was selected to enhance visual appeal of the structures façade and to enhance the design component of the project. 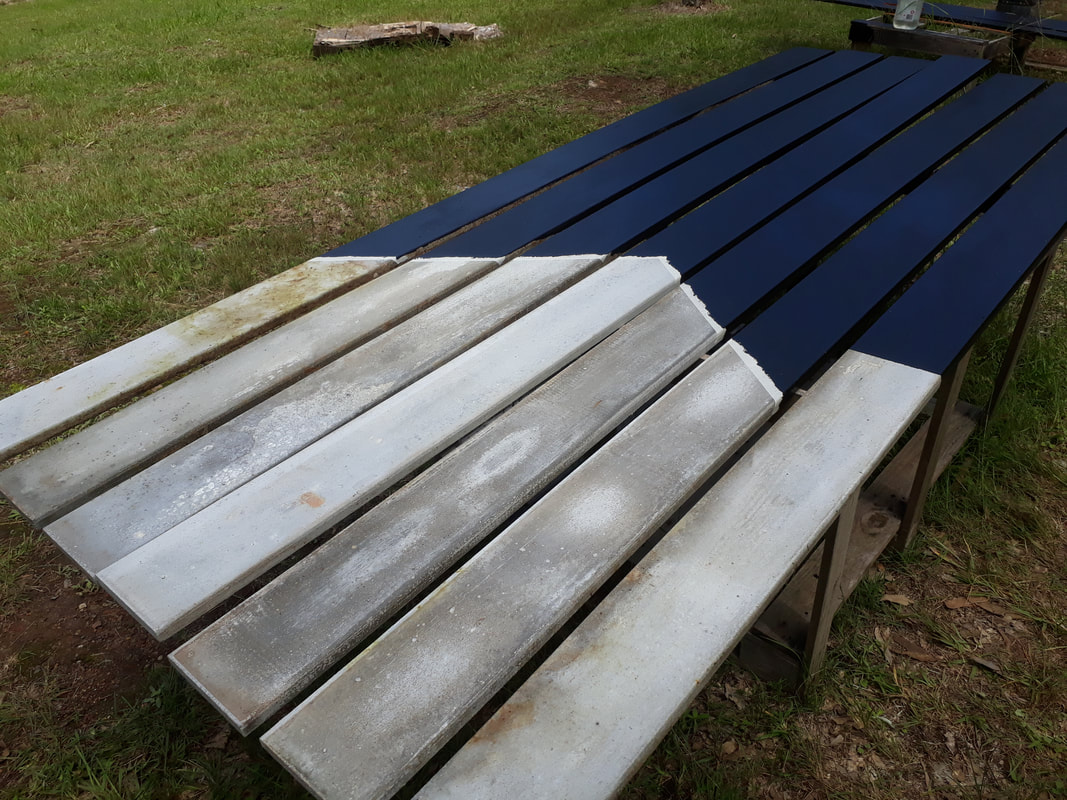 Pre-painting the house motif onto the boards prior to installing In addition, a house motif was integrated into the eastern wall design and painted onto the boards prior to installation. This ornamentation was planned to reference the notion of home by displaying a conventional template of the traditional archetype of how a home is perceived to appear. This situates the piece directly into my research topic by prompting the viewer to reflect on their own perceptions of home by reimagining the idea of home, the Great Australian Dream and their place within it. The house pattern also had the function of tying this larger work to my series of smaller artworks which address the concept of the vanishing and reimagining of the Great Australian Dream. In my smaller works, which were exhibited in April 2019, I used the house shape to represent the concept of what is understood as a home and to reference the theory of duplication. By constantly replicating the motif, it not only orients the pieces within the housing and shelter framework, but it also references pre-fabrication and production aspects of the larger ideals of the project as a whole. Door Framing and DoorsAnother significant construction process on the container was to cut through the high tensile steel walls to facilitate the installation of the doors. I was donated a cordless, battery operated angle grinder (along with a cordless drill) by AEG Powertools for use in the project and I considered this to be the ideal opportunity to use it. I admit to being moderately apprehensive about executing this task. I had consulted many people prior to commencement of this assignment and was met with varied opinions, all of which quantified that it would prove to be a difficult undertaking. I can now attest to you that it is not. I did not find it problematic, complicated or unmanageable. Contradictorily, in my personal experience, it was relatively straightforward. My hands were a little tired afterwards from having such a controlled and tight grip on the disc grinder and I was covered in fine metal shavings and dust, but it was categorically achievable. Furthermore I was advised that I would need to make certain that I had a lot of cutting discs on hand to complete the cutting process. I purchased a tin containing twelve cutting discs with the anticipation that that would suffice. Surprisingly to me, the process of cutting the hole in the wall of the Container of Dreams used a grand total of three discs. I had been led to believe that I would need much more than just the three discs that I used. The discs had to be exchanged and rested as they overheated. One disc was damaged by the movement of the wall as the cutting was being performed and had to be changed, but the remaining two discs still have life left in them and can be used for other applications. 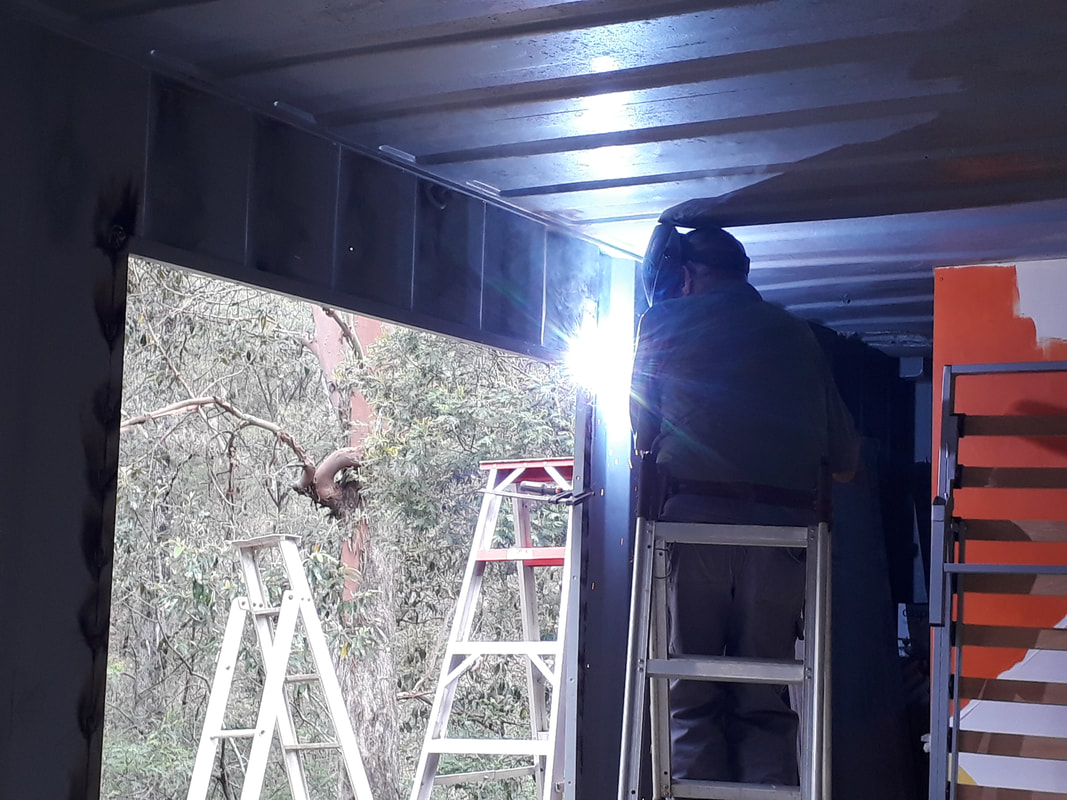 John Raymond welding the custom made steel frame onto the container The container walls surrounding the subsequent void left behind then needed to be reinforced with steel. For this assignment I employed the use of my friend and neighbour, John Raymond, an expert welder. John welded a custom made steel frame, which he had prepared earlier, into position along the perimeter of the cavity that had been cut into the wall. He welded a further length of steel above the doorway for additional structural integrity. This steel framework then acted as an instrument for fixing the timber door frame.  The eastern wall showing the welded steel door frame being fitted John and I made the door frame together using dressed pine timber which was then secured into position in the void. The doors were then prepared by attaching two sets of hinges to the spine of each door at equal measurements. Once hinges were attached the doors were hung into place. Supplementary timber edging was then applied around the doors as an additional weather seal. 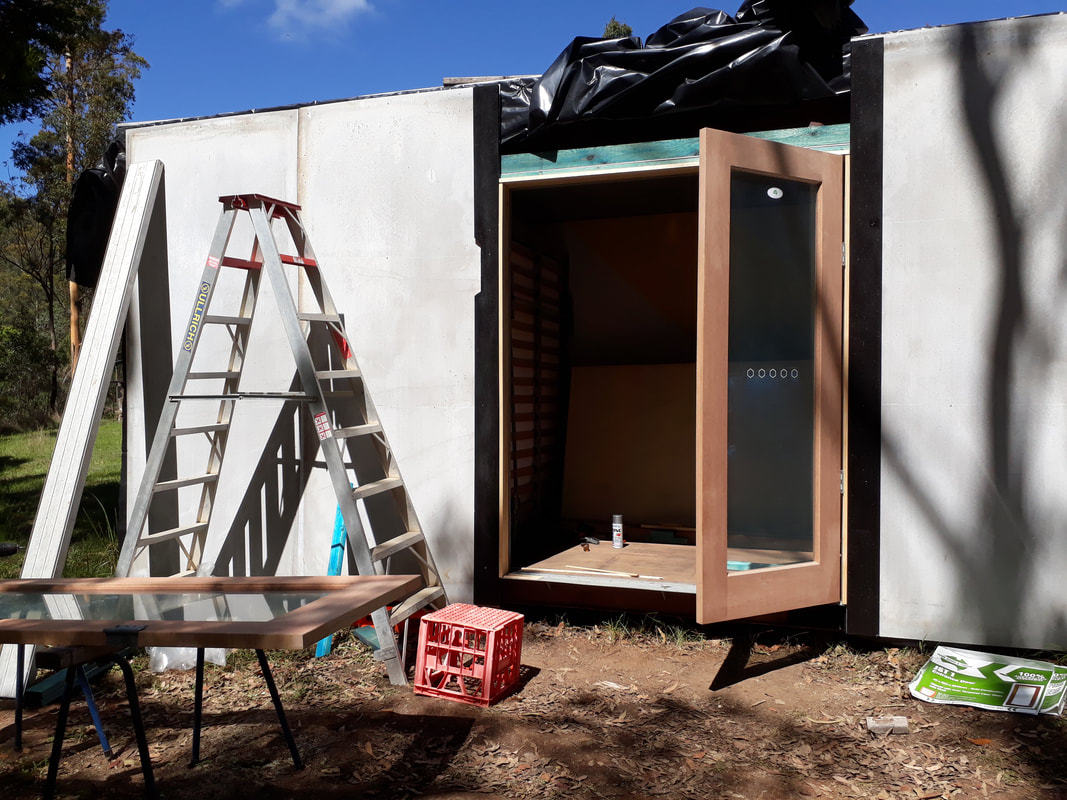 Installation of doors showing one suspended in place and one being prepared for hanging The doors installed in the Container of Dreams are two adjoining timber and glass entrance doors purchased from Bunnings. I elected to hang the doors at opposite sides of the doorway so that they open in the middle, in the French-door style, in order to create a large opening space. The choice to utilise two glazed doors and hang them in this manner was a considered one, as this substantial void, created when the doors are opened, will assist in producing an impression of larger space in what is essentially quite a small area. Additionally, the glazing on the doors was deliberately chosen to enable natural light to enter the dwelling whether the doors are open or closed. Shipping containers in their unaltered state are extremely dark inside so it is a necessity to modify the container in some way to rectify this. The common solution is to install windows to allow in light and air. By combining the doors and windows into a single resolution, the installation of glazed French doors, made practical and economic sense. This also satisfies many local council regulations of requiring two access locations in a dwelling and negates the need to install windows. 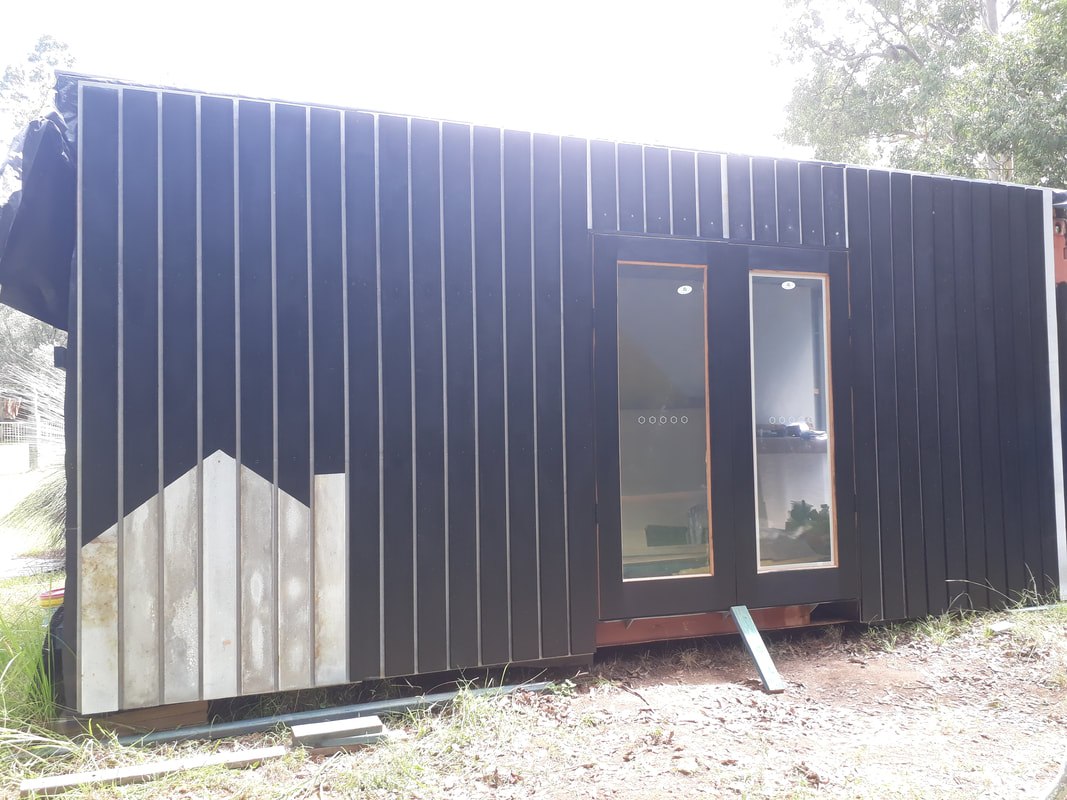 Eastern wall exterior cladding and doors completed The location of the constructed doorway was also a measured one and was positioned as close as possible to the interior dividing wall to permit light to distribute in to the bathroom area of the dwelling together with the remainder of the living space. This positioning also took into account the interior layout which had to allow for the placement of furniture, both fixed and flexible, plus the ease of human movement within the space. I hope you enjoyed part five in my series. Next week, in part 6, I will finish the discussion on the exterior of the conversion process. Stay tuned...
0 Comments
(Extracts from my PhD Thesis) This series of posts provides a step-by-step description of the construction and conversion processes involved in building the Container of Dreams. They outline my studio investigations and experimentation and document both accomplishments and failures experienced throughout the project. This is Part 4. Part 4: |
Clare UrquhartCEO and Founder Archives
March 2020
Categories |
 RSS Feed