|
(Extracts from my PhD Thesis) This series of posts provides a step-by-step description of the construction and conversion processes involved in building the Container of Dreams. They outline my studio investigations and experimentation and document both accomplishments and failures experienced throughout the project. 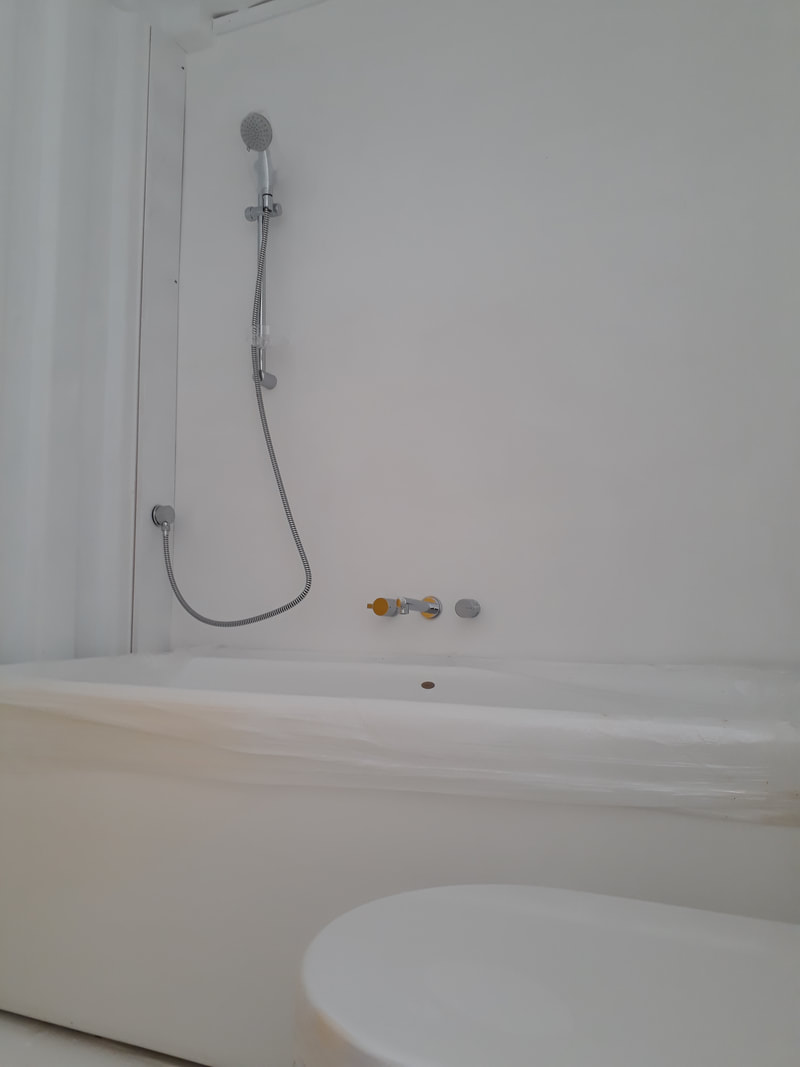 Part 10: BathroomProject RECAP: The main focus of my Phd project was to devise an inexpensive liveable dwelling prototype to showcase micro-housing concepts in a tangible way. My research began by exploring possibilities of adapting discarded shipping containers in the creation of this model. Shipping containers were chosen for this purpose due to their affordability, availability, flexibility and speed of construction. I called the prototype ‘Container of Dreams’. The bathroom zone had to accommodate all the customary features one would expect and require in a bathroom. This includes a toilet, basin and shower, however, in the Container of Dreams, it also features a bathtub. The bath, along with the other bathroom fixtures of toilet, shower and basin were donated to the project by Caroma. A full-sized bath is not typically an item that would be associated with a micro house. This bathtub, a Cube Back-to-Wall Bath, is measured at 1600mm in length and is promoted by Caroma as a space saver. Caroma was eager to donate it to the project to demonstrate their relevance in this arena. I was also keen to incorporate this item into the dwelling as I estimated that this would portray an essence of indulgence and would indicate that, with appropriate design, such luxury items did not need to be compromised in small spaces. Interestingly, the addition of this size bath to the room did not take away any significant space from the overall layout. However, it was necessary to install the shower, also donated by Caroma, over the bath as a supplementary space saving procedure. A compact toilet suite, once again supplied by Caroma (aren’t they awesome!), was also installed in the bathroom. Branded as the Urbane Compact, it is designed so that the toilet pan has a shorter protrusion than standard toilets and the cistern is concealed in the wall cavity to conserve space. 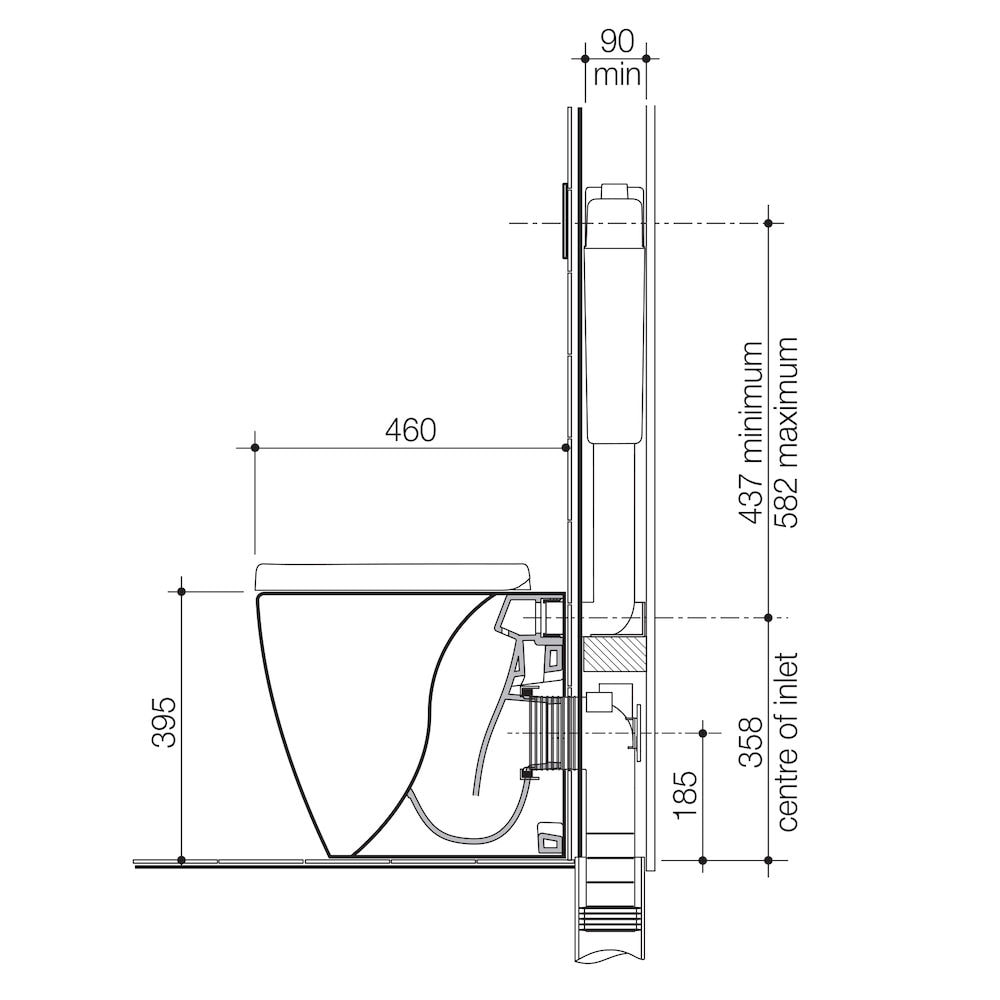 As a further result of budget restrictions I elected not to install a washing machine in the finalised container house, however there is adequate space in the bathroom to install one in the future if desired. The addition of a washing machine would reinforce the self-containment credentials of the residence and offer an added degree of self-reliance for the occupant. Conclusion: In the end the container home is not a fully resolved and approved dwelling*. It was not intended to be, rather it is designed to be a work of art aimed to stimulate dialogue around the topic of affordable housing. It has been conceived to showcase how smaller spaces can work effectively and how this can assist in altering community perceptions. Using art as an instrument for societal change, the object of my installation was to make social commentary about affordable housing in order to challenge the accepted way of thinking. As a consequence this will encourage debate around the topic and inspire transformation in the wider community. *Even though the container was conceived as a prototype which is not fully approved it is still fully functional and can be easily rendered compliant for approval with very little alteration. This concludes the posts detailing the construction of the “Container of Dreams”. These were extracts from Chapter Seven of my Phd thesis. I hope you’ve enjoyed reading it.  The Container of Dreams In my next series I will post extracts from another chapter of my thesis, Chapter Five: Container Homes and Tiny Houses. Throughout the next blog series I will discuss the logic for utilising containers to convert for use as micro-housing as an immediate and innovative solution to the escalating affordable housing challenge in Australia. I will present exemplars of developments already undertaken throughout the globe to validate this rationale and I will update the examples of have used in my document by presenting even more recent examples. If you’ve liked what you’ve read so far and would like to read more you can download my full thesis: “Container of Dreams” is available as a pdf through Southern Cross University’s Library : https://epubs.scu.edu.au/theses/660/
1 Comment
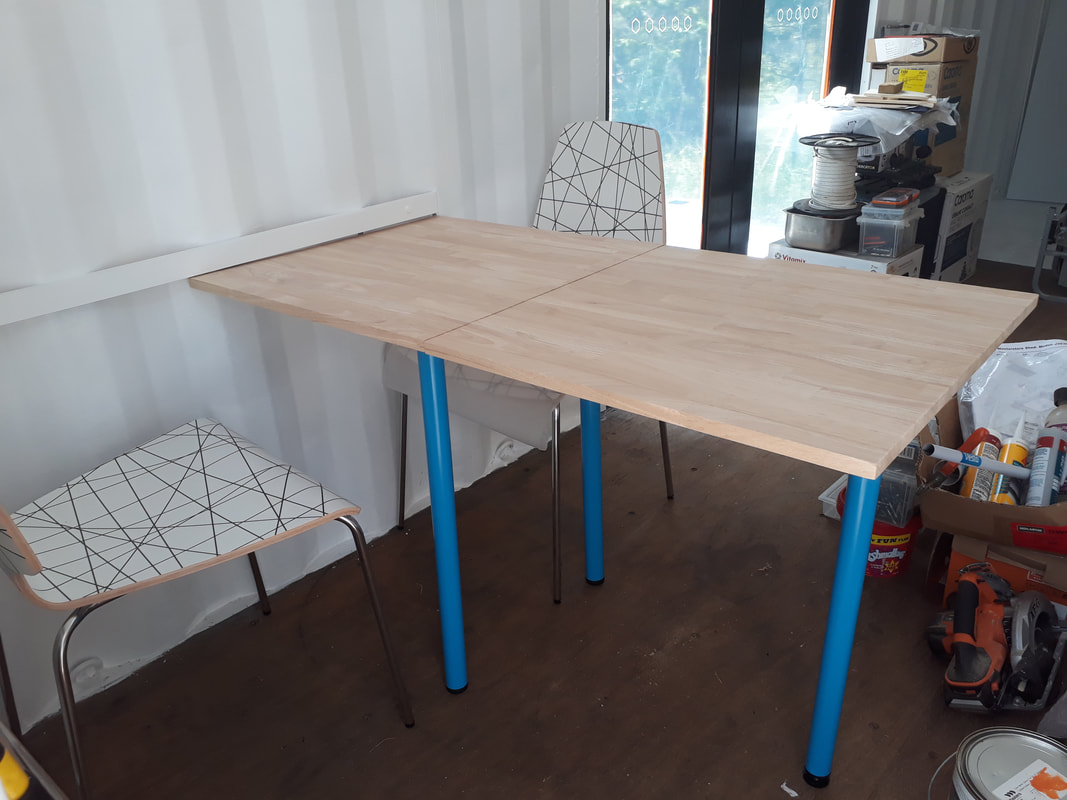
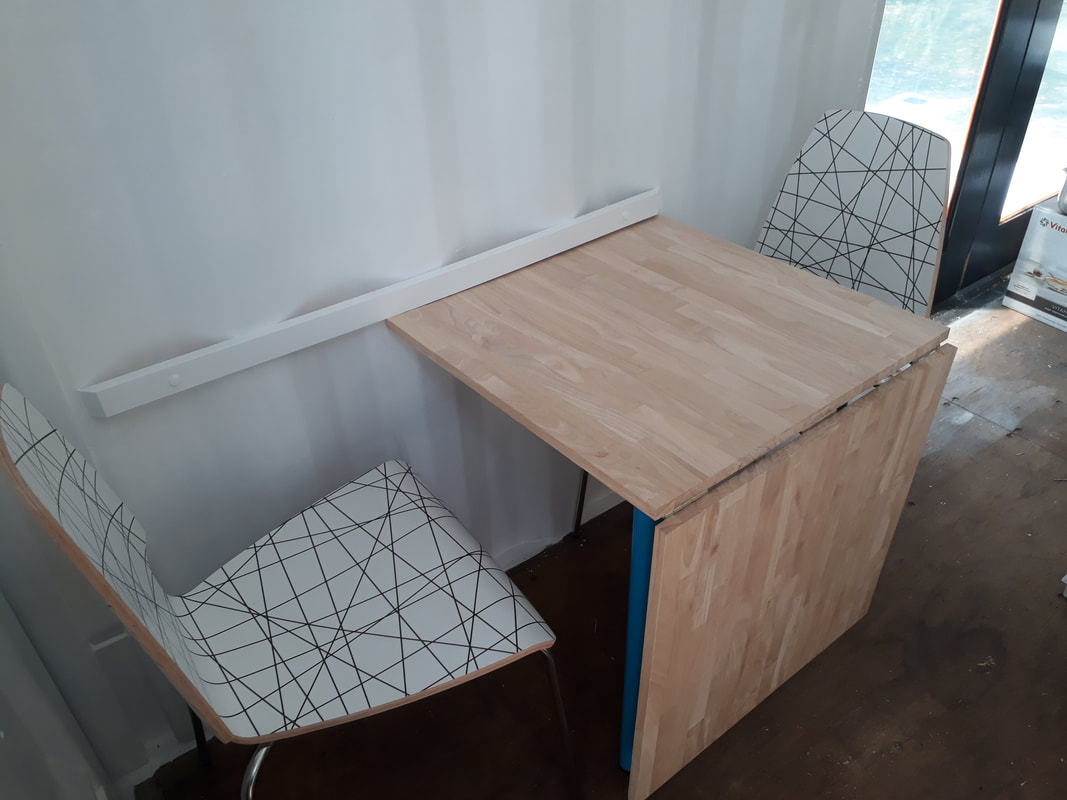
(Extracts from my PhD Thesis) This series of posts provides a step-by-step description of the construction and conversion processes involved in building the Container of Dreams. They outline my studio investigations and experimentation and document both accomplishments and failures experienced throughout the project.  Think outside the box Part 9: Adaptability ...think outside the boxArchitect Roger Fay believes that small spaces should be designed with considered adaptability in order to be sustainable. Designing a space to be used in differing ways as the needs of the occupants change over time can accomplish this. Bearing in mind the need for adaptability, I selected furniture that could be multi-purpose. To this end I designed the lounge area seating with multiple functions in mind. I established the concept of a modular and mobile seating area which could be adapted as necessary to perform various functions within the space. In keeping with the hypothesis of multi-function and adaptability, these modules were envisaged to have storage added, as well as be functional seats. Moreover, the concept was to make these individual units moveable to enable them to be effortlessly moved about within the space. It was conceptualised that these modules would serve as a lounge seating area when the bed was in the upright position and be able to be wheeled around the space for ease of movement when the bed was needed to be utilised in the lowered state. They would also function as chairs around the table and provide additional seating when more was required. They could even be taken on to the outdoor deck area when desired. 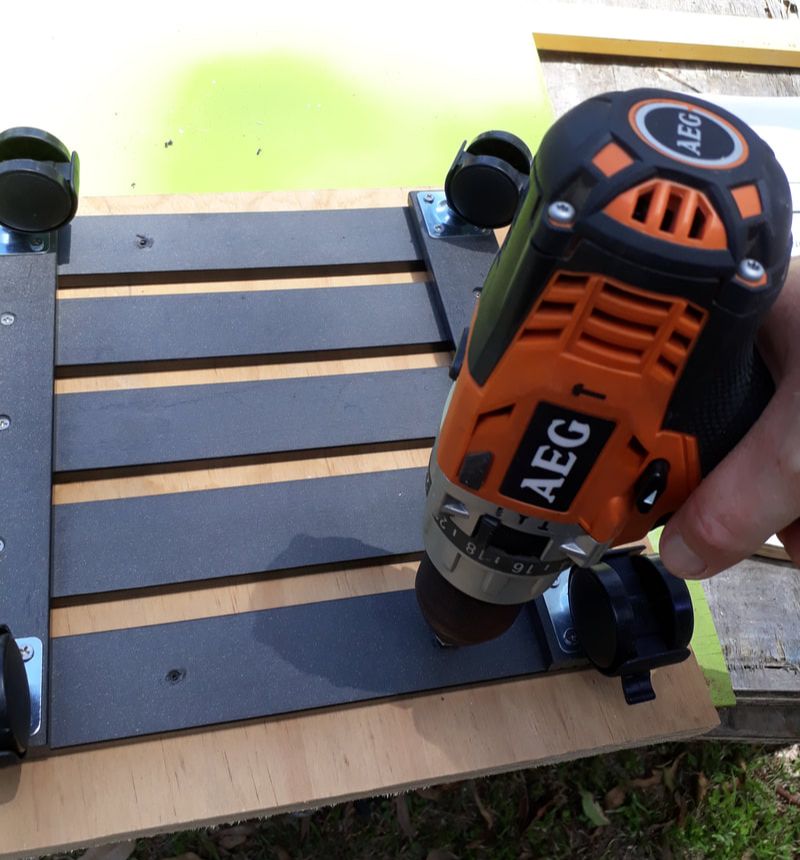 Inverted pot trolley being fixed to base plate After researching existing furniture items which could be adapted for my purposes I purchased four padded stools with integrated under seat storage from IKEA. To adapt these for use in my concept I also purchased four pot trolleys from Bunnings being careful to assess the weight load rating and ensure appropriate capacity for the application. Pot trolleys are pot plant stands with attached wheels underneath manufactured to assist with moving and arranging potted plants around the home without the need for heavy lifting. They are rated to accept assorted weight loads to bear large and heavy potted plants and are available in square or round shapes. I purchased pot trolleys with a weight load of 100kg each in the square form. I considered these ideal for the task and cost-effective as well. To attach the pot trolleys to the stools it was necessary to cut some thick plywood to the same dimensions of the stool frame for use as a base to enable the trolley to be screwed into place and the frame of the stool to then be fixed to this base.  Predrilling the stool frame for fixing to the base plate and wheels 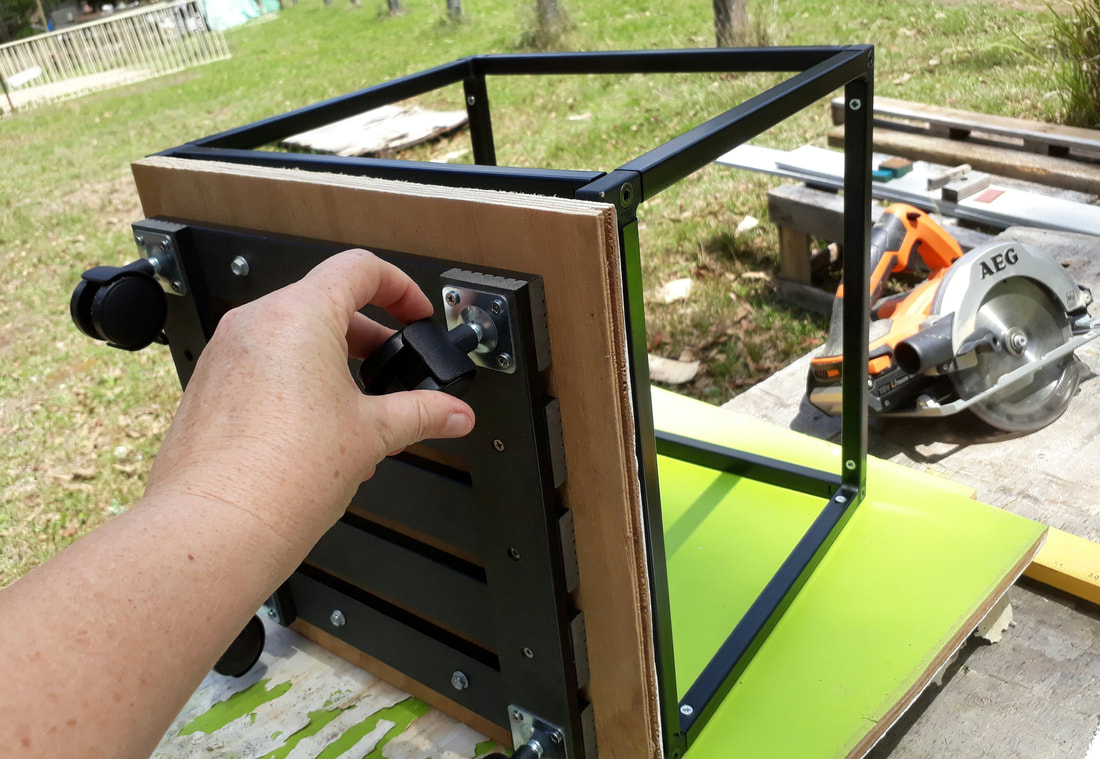 Attaching the pot trolley to the base and the stool frame Attaching the pot trolley to the base and the stool frame 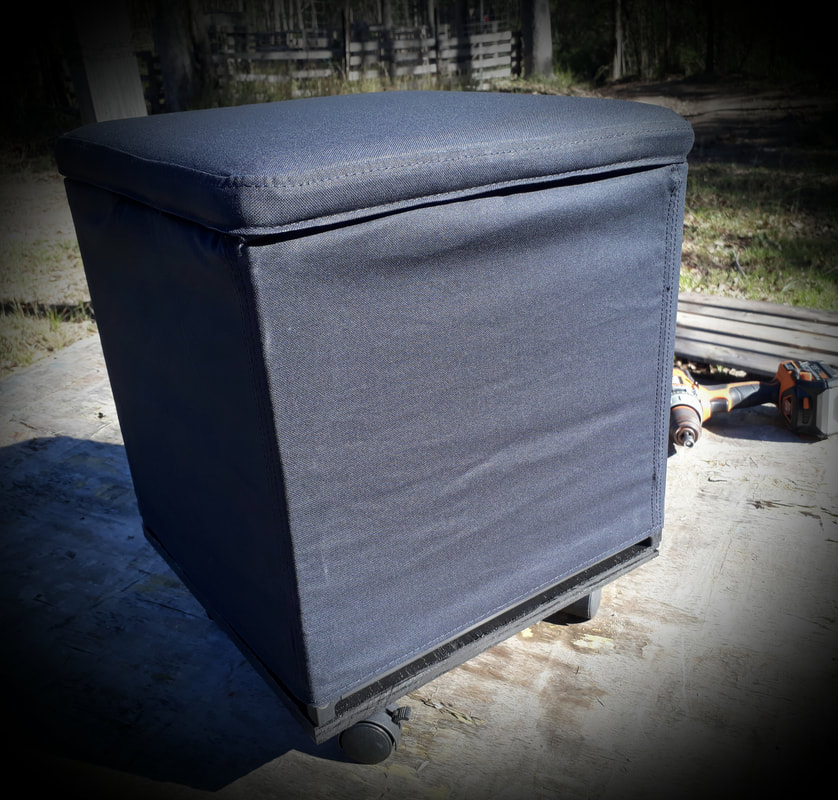 One of the completed modules This concludes this week's post. I hope you are enjoying reading my process. As promised last week, next time I will discuss the bathroom area. Stay tuned.... (Extracts from my PhD Thesis) This series of posts provides a step-by-step description of the construction and conversion processes involved in building the Container of Dreams. They outline my studio investigations and experimentation and document both accomplishments and failures experienced throughout the project. 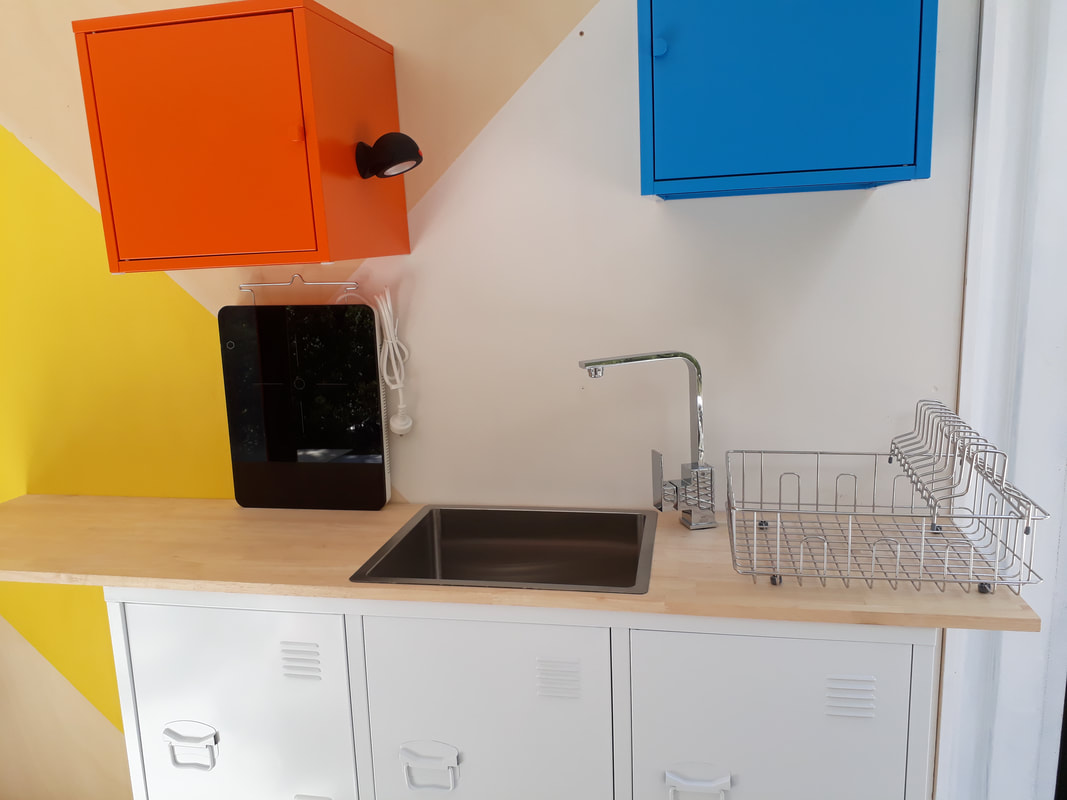 Kitchen zone showing cabinets, benchtop, sink, taps, cooker and wall-mounted cabinets Kitchen zone showing cabinets, benchtop, sink, taps, cooker and wall-mounted cabinets Recap: The main focus of my Phd project was to devise an inexpensive liveable dwelling prototype to showcase micro-housing concepts in a tangible way. My research began by exploring possibilities of adapting discarded shipping containers in the creation of this model. Shipping containers were chosen for this purpose due to their affordability, availability, flexibility and speed of construction. I called the prototype ‘Container of Dreams’. Part 8: Interior |
Clare UrquhartCEO and Founder Archives
March 2020
Categories |
 RSS Feed