Part 7: InteriorThere are many aspects to the interior fit out of the container, including design, construction phases, fitting of fixtures and installation and placement of furniture, both fixed and movable and these processes will be expounded upon in this and the next few posts.  Resolved interior layout using digital 3D imaging software Initially it was essential to determine the best design arrangement for the space. After investigating several interior layout options using computer software programs I developed what I concluded would be the most efficient use of the internal space. I had been donated some large items, specifically a folding wall-bed provided by Pardo Wall Beds and a full sized bath donated by Caroma, which had to be taken into consideration when determining the best design arrangement. These items, along with the equipping of the dwelling with obligatory elements, such as kitchen and additional bathroom fittings and fixtures and other furniture, had to be accommodated to fit acceptably in such a small area to make the space work effectively. The above image illustrates the interior layout design which was ultimately adopted. The design arrangement in the image shows the wall bed in the lowered position. The next step in the interior fitout was to cover the walls. For this process I had been supplied some eco-plywood sheets which were donated to the project by The Elton Group. This plywood sheeting is marketed as an eco-friendly building product known as EPly Pangua Pure Glue. Manufactured from certified plantation grown timber using a soy based adhesive, it contains no added formaldehyde which helps to improve air quality to make a healthier indoor environment. The plywood was supplied in sheets measuring 2440 x 1220 x 9mm. I selected to line only one long wall, the interior of the western wall, and to leave the other, the eastern wall, in its original state. The eastern wall was designated to remain in this condition to reference the container itself and as a gesture of remembrance to its previous appearance and function. A small partition wall at the southern end of the interior area was constructed as a divider to provide additional privacy for the bathroom and was also lined using the plywood sheets. 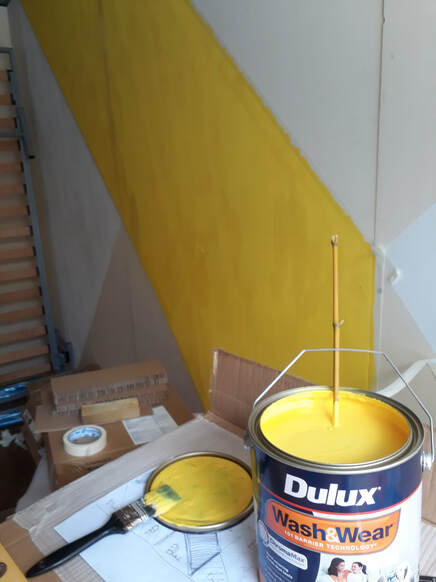 The plywood lining was attached to timber stud framing that had been installed earlier. This covering was then painted in a geometric pattern using white, orange and yellow paints to add colour and visual appeal. Some of this paint was donated to the project by Dulux Paints. 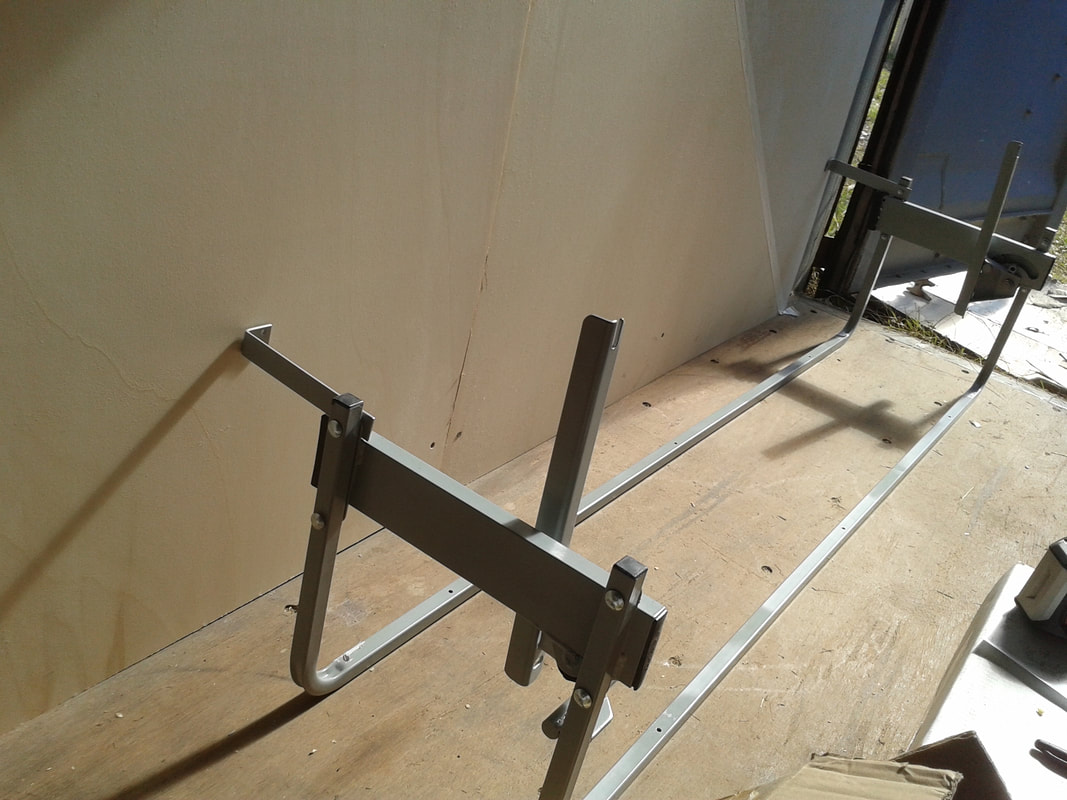 Wall bed mechanism installation Wall Bed The wall bed was installed directly in front of the constructed partition wall. A wall bed is a space saving solution designed specifically for small spaces, they are also known as “Murphy beds”. The bed frame is attached to a spring mechanism and hinged at one end to allow the bed to be lowered for use or raised vertically against the wall when not in use. This is designed to open up more living space, especially in environments were floor space is at a premium. The wall bed mechanism and base in the Container of Dreams is queen sized and was donated to the project by Pardo Wall Beds. It was installed following the manufacturer’s directions by fixing the apparatus to both the floor and wall using screws. The bed frame was then inserted into the device and fastened into position. A queen sized mattress, donated to the project by Ecosa, was secured to the bed frame using straps provided by the bed structure supplier. These straps hold the mattress in position when the frame is being raised or lowered. 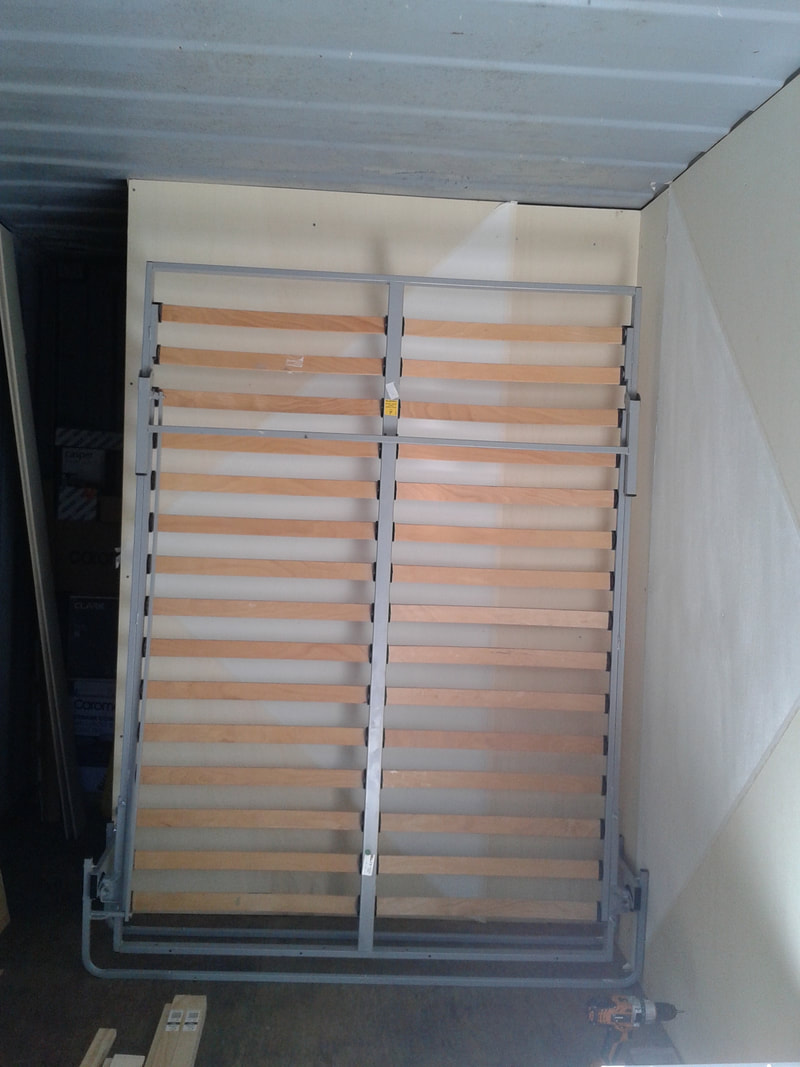 Wall bed mechanism and frame in position after installation Next post we will discuss the kitchen area of the conversion. Stay tuned...
1 Comment
(Extracts from my PhD Thesis) This series of posts provides a step-by-step description of the construction and conversion processes involved in building the Container of Dreams. They outline my studio investigations and experimentation and document both accomplishments and failures experienced throughout the project. Part Six: Of Hills Hoists and The Great Australian Dream…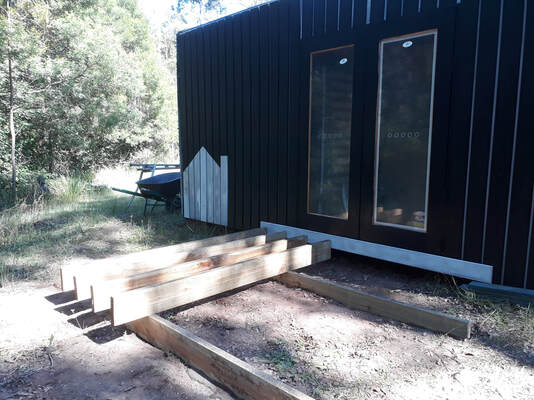 Initial stages of deck construction showing joists being placed on support beams Outdoor Deck A small free-standing deck has been constructed just off the french doors on the eastern side of the dwelling. This deck provides a sense of extra living space and is a linking mechanism to connect the outdoors to the inside space. The deck was easily constructed using treated pine sleepers for beams and joists. For both ease of construction and as an aesthetic feature, I elected to fabricate the deck to the dimensions of the Inex decking boards that I had on hand. These had been generously donated to the project by UBIQ. This required that the treated pine supports be exactly 2700mm in length, identical to the length of the decking boards. It was necessary to dig a small trench in order to position the beams at the required height. These were made level and some concrete was poured around them for added stability and to ensure they didn’t shift. I then used nine standard 2400mm treated pine sleepers as joists and placed them at equal intervals along the crossbeams. These were secured into place using screws. The decking boards were then placed directly onto the joists and fastened into position using masonry screws. 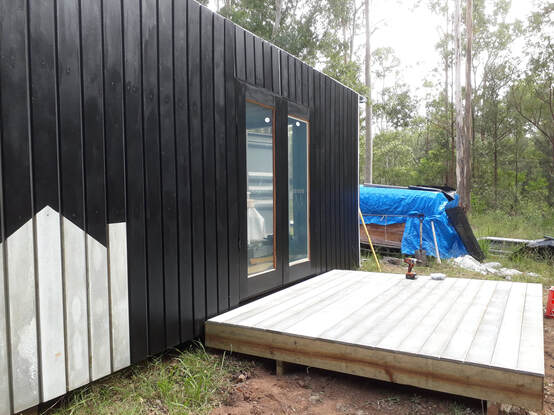 Completed free standing deck Flashings Flashings were then installed at all exposed corners of the exterior. Flashing is required as a weather barrier to decrease water penetration around all joints. It was necessary to install this at all the corners and along the roofline. Flashing also assists in finishing off the construction and contributes to the completion of the overall aesthetic appeal of the building. The flashing used was kindly donated to the project by Metroll Lismore. An 1130 litre round polyethylene water storage tank, generously donated by Duraplas Tanks, was then mounted at the rear of the structure. This will enable the collection of rainwater to supplement water supply to the dwelling. 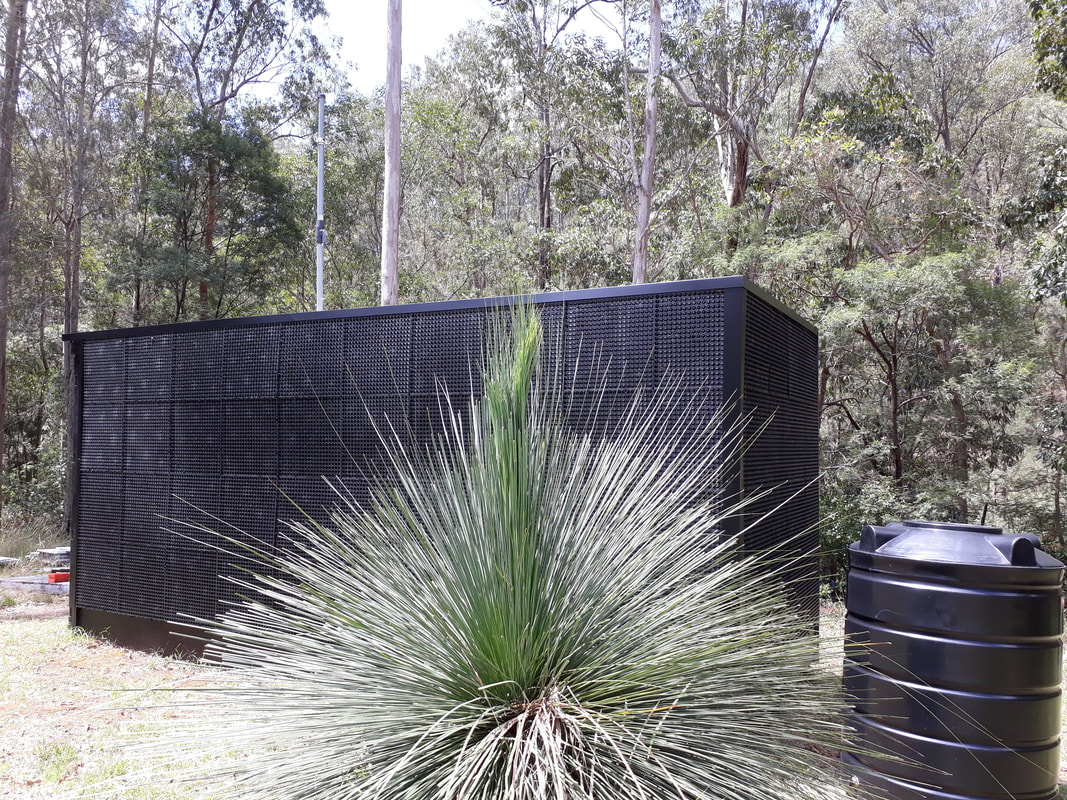 COD showing fitted flashing and watertank Hills Hoist To finalize the exterior appearance a Hills Hoist clothesline was erected on top of the container, on the rooftop deck. A second hand clothesline was acquired free of charge after advertising on social media pages. The Hills Hoist attained was in reasonable condition and was disassembled. It still had the mass of concrete enclosed around the supporting steel pole at the base from where it had been dug from the ground. This necessitated cutting the pole off just above this concrete section with the angle grinder. Making a new stand for the clothesline to enable it to be attached to the rooftop deck was then required. This support was made from metal pipe and angled steel which was welded together by my friend, John Raymond, who also assisted me with fastening it to the rooftop deck. The central pole of the clothesline was inserted on to it and bolted in to position. The remaining poles were then reattached into their corresponding locations to complete the installation.  John Raymond assisting with installation of hoist stand on roof of Container of Dreams The rationale for inserting the Hills Hoist into this composition is to make reference to the Great Australian Dream. My project is about discovering creative approaches to established housing in order to reimagine the Great Australian Dream through micro-housing solutions. The Hills Hoist is commonly recognized as a physical manifestation of Australian suburbia and in our society there is an authoritative entrenched symbolism ascribed to the object itself. It is this statement of the clothesline’s distinctive place in Australian lore that I have extracted in this work and consequently it is used here as a cultural symbol to represent the Great Australian Dream. This depiction gives the viewer the tools to imagine a different interpretation of the conventional model. It is used as a device to bring all the concepts of the project together. 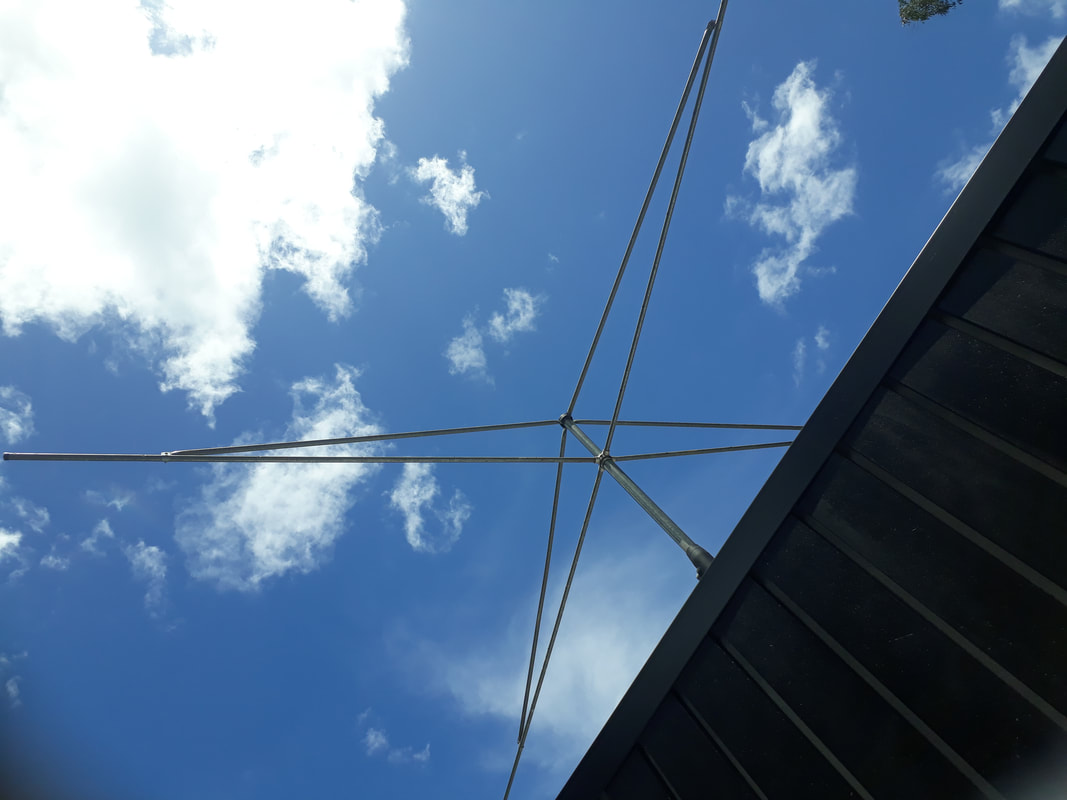 Hills Hoist on roof of Container of Dreams I hope you enjoyed our sixth installment of "Building the Container of Dreams" and finding out why the Hills Hoist is included in the composition. In part 7 we get inside the container and start discussing the interior. Stay tuned...  We are so pleased to announce that our approval for registration as a charity has come through from the Australian Charities and Not-for-Profit Commission.  |
Clare UrquhartCEO and Founder Archives
March 2020
Categories |
 RSS Feed